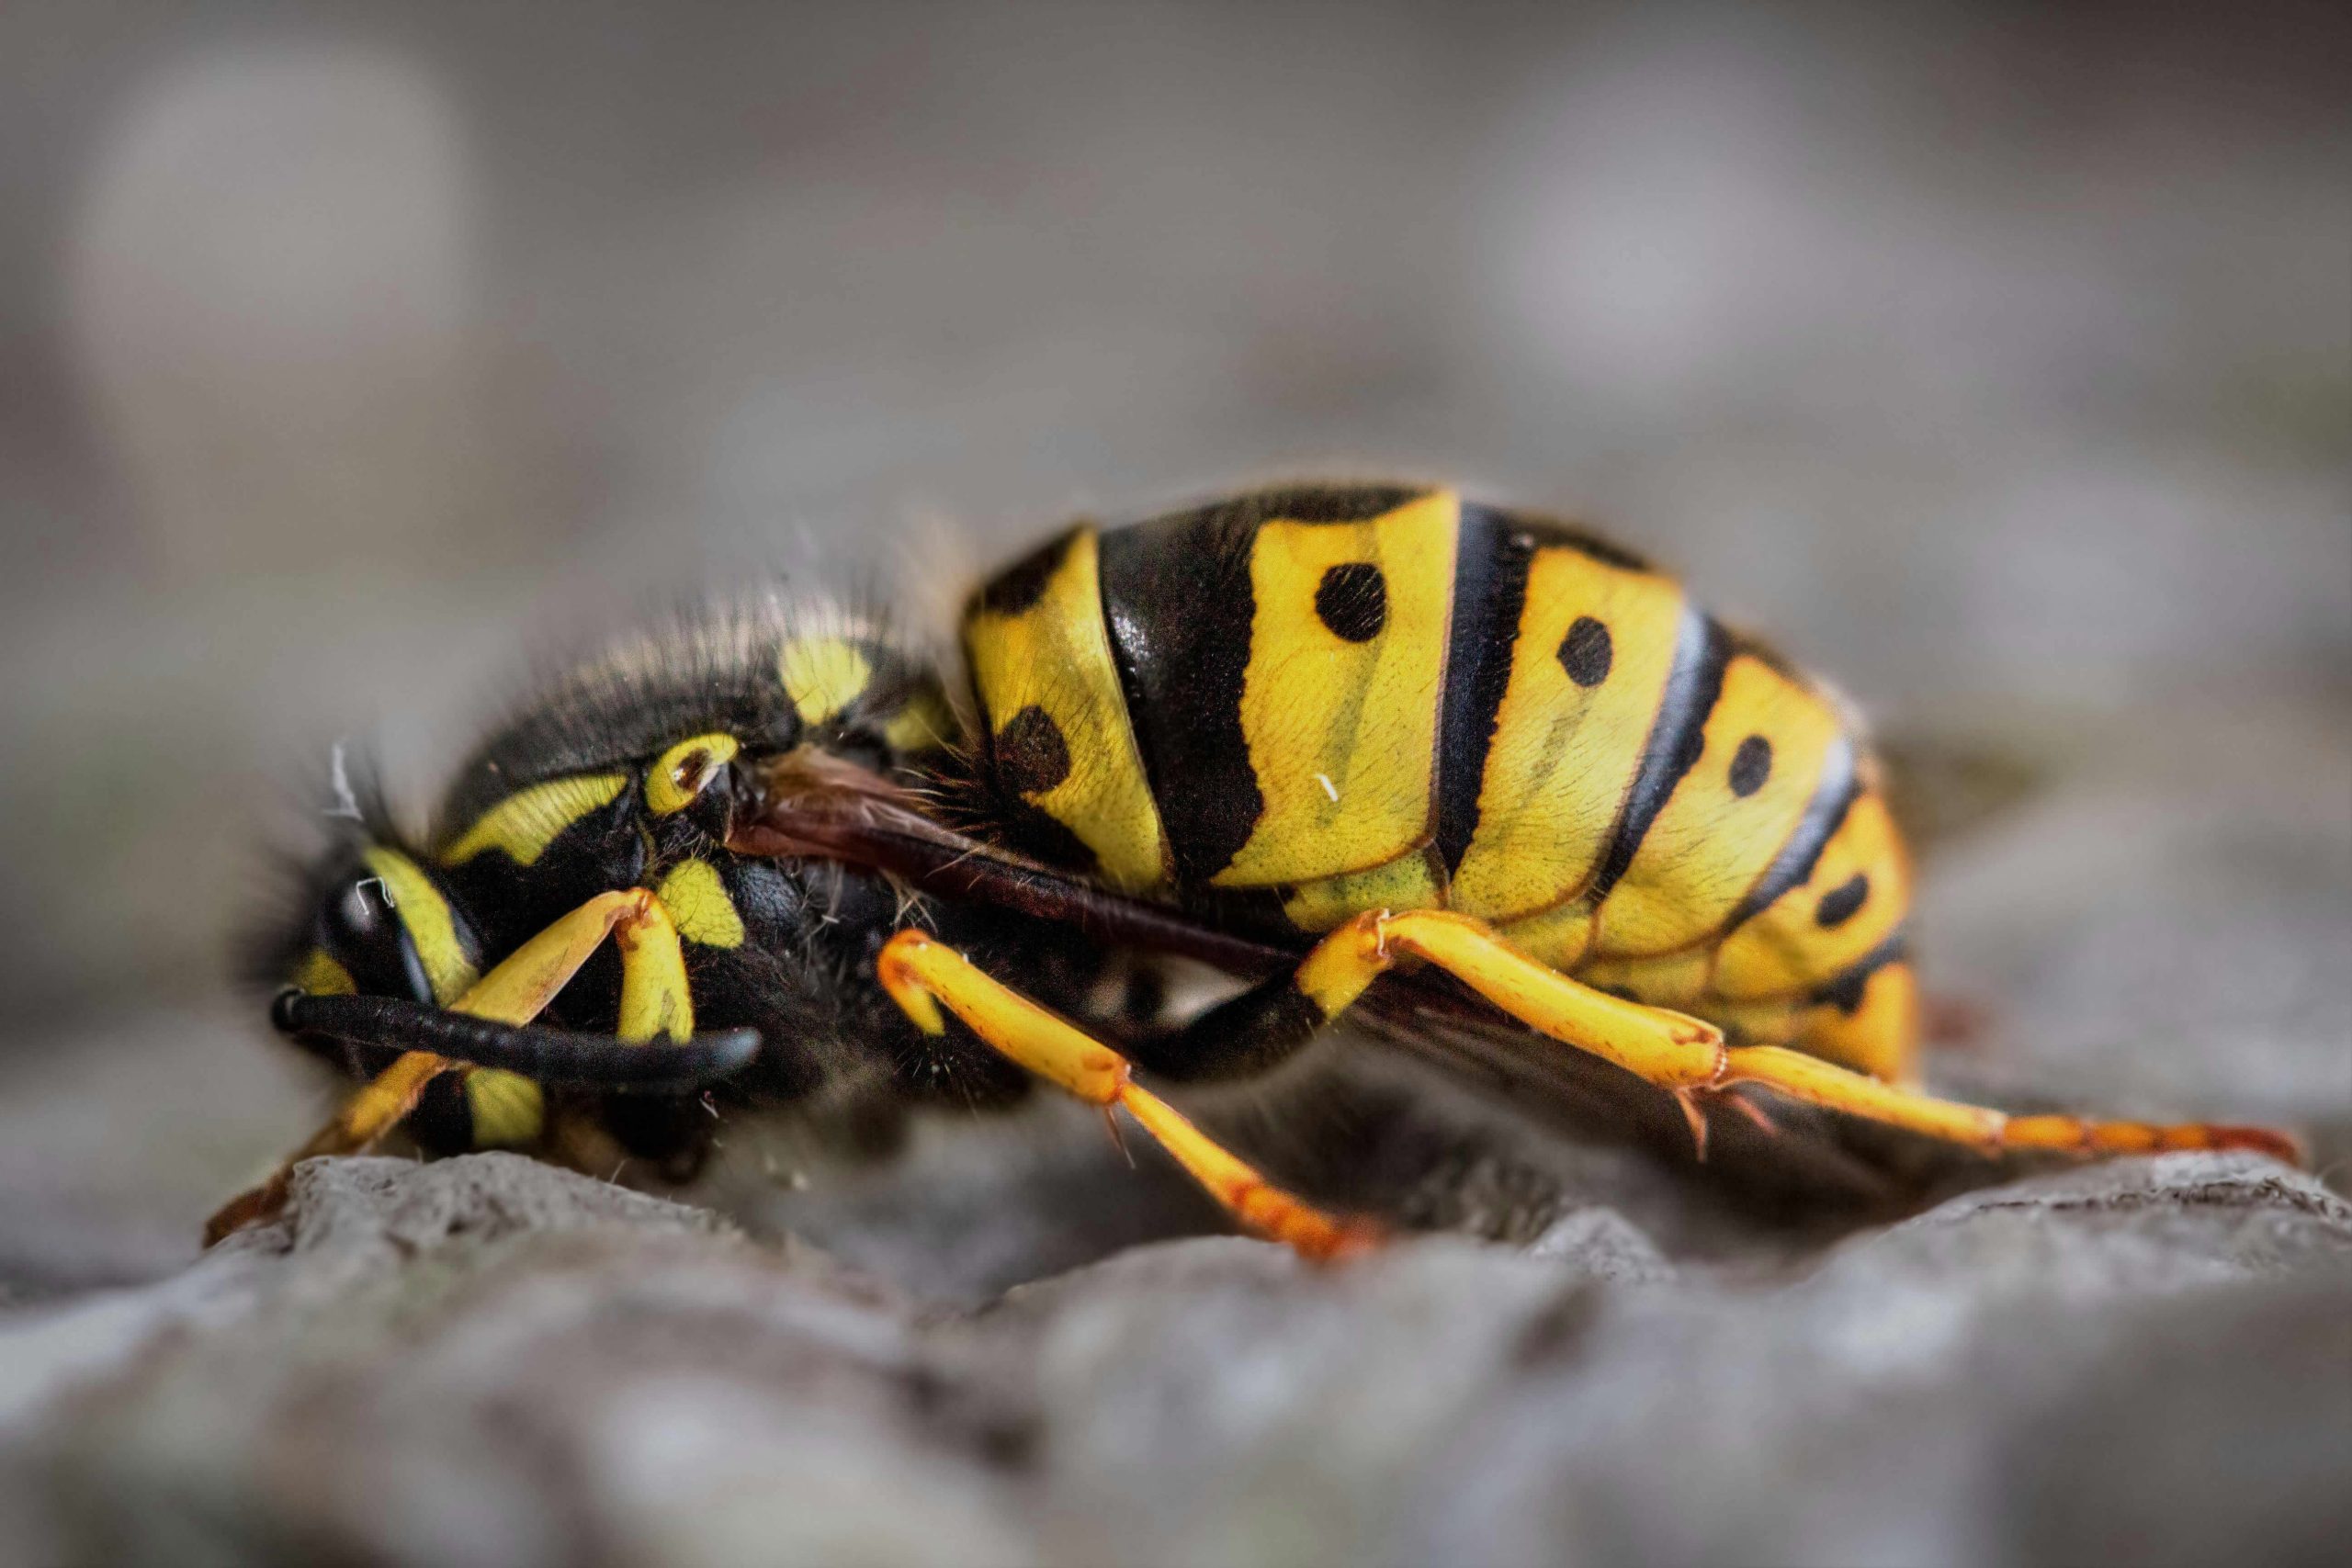
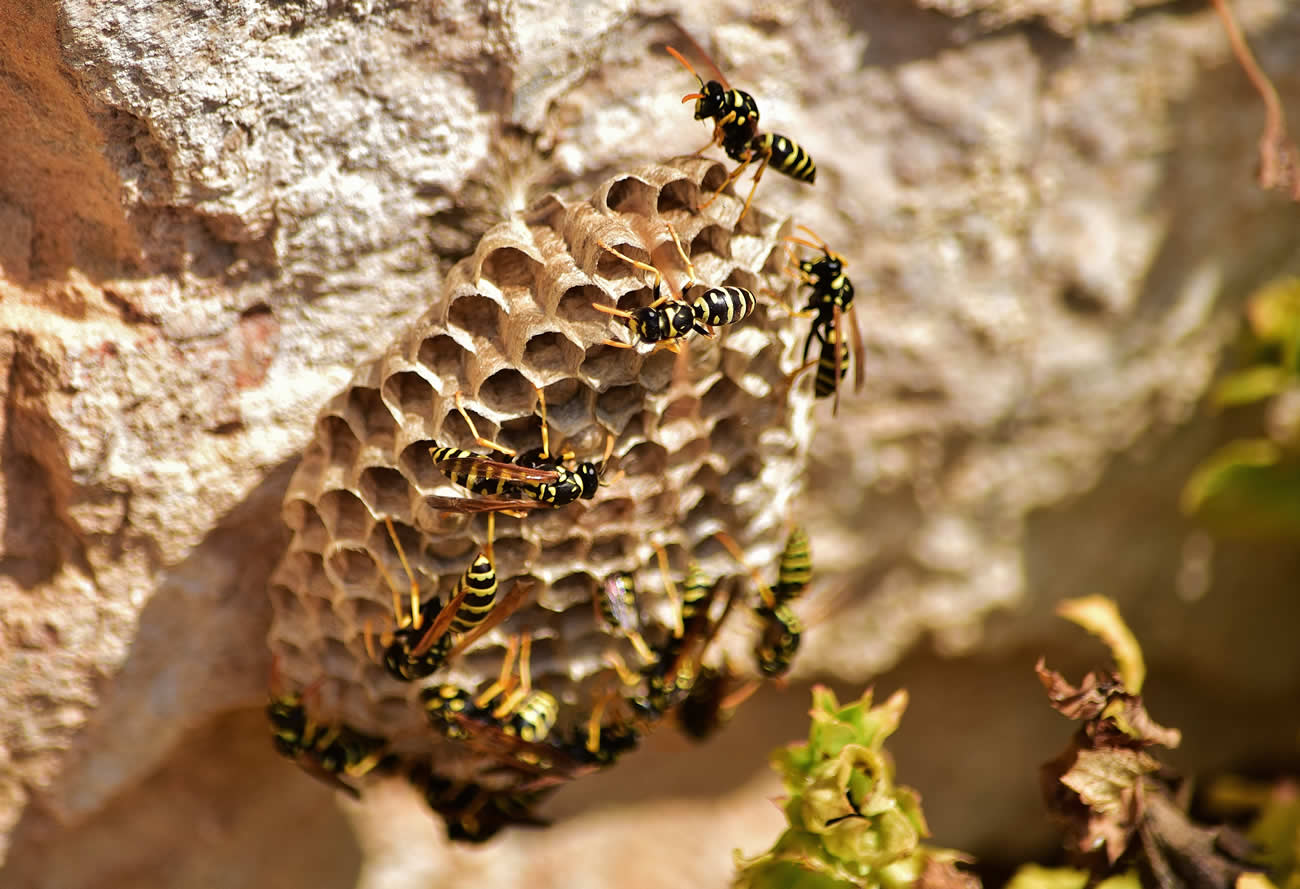
A single queen wasp caught in spring could prevent up to 1,000 worker wasps from invading your garden later in the season. Finding the right wasp trap bait recipe early in the year is significant to control these pests effectively.
Wasps benefit our gardens by helping with plant fertilisation and pest control. They can pose a serious threat, especially to people with allergies. Our tests show that homemade wasp traps work just as well as commercial options and cost much less. You can build a powerful trap with basic items like a plastic bottle, sugar, and water.
These DIY solutions have produced amazing results. More than 2.5 million people have viewed our guide and successfully used these methods. We’ll teach you how to create the perfect trap with seasonal bait that works for both spring queens and summer workers.
Table of Contents
ToggleWhy Make a Homemade Wasp Trap
Wasps become a real nuisance around homes in late summer. They get more aggressive as they look for sweet substances. You can create better homemade traps if you understand these challenges.
Common wasp problems around homes
Wasps near homes create several problems. Health records show that stinging incidents caused 1,109 deaths between 2000-2017, with an average of 62 fatalities each year. These wasps can sting multiple times without losing their stinger, which makes them a serious threat to people with allergies and those who are hypersensitive.
Their territorial behaviour is a big concern. A threatened wasp releases pheromones that alert its entire colony and this can lead to a mass attack. These insects also look for protein-rich food and sugary substances, which can make outdoor activities and picnics uncomfortable.
Wasps can damage your property too. They chew through wooden structures, logs, fence posts, and home exteriors to build their nests. The size of the nest relates directly to how much damage they cause, and they’ll keep destroying things unless you stop them.
Benefits of DIY traps vs commercial options
Making your own wasp trap is a great way to get many advantages over store-bought options. These homemade traps work just as well and cost much less. You’ll only need simple household items like plastic bottles, sugar, and water.
Homemade traps help protect the environment. They use natural ingredients instead of the harmful chemicals found in commercial options. This makes them safer for your family, pets, and helpful insects like bees. On top of that, you can adjust these traps with different baits based on the wasp season and type of wasps in your area.
The right timing makes these traps work better. Setting them up in early spring helps the most – each queen you catch then prevents about 1,000 worker wasps from appearing later. This smart timing controls the wasp population better than commercial solutions.
DIY traps are also flexible. You can easily change and clean them throughout the season. Regular cleaning stops dead wasps from creating a ‘raft’ that other wasps might use to escape. You can also quickly adjust the bait as wasps change their priorities with the seasons.
Essential Materials and Tools
You need the right materials and safety gear to build a working wasp trap. Here’s what you’ll need to put one together.
Simple supplies needed
A 2-litre plastic bottle works as the main container for your trap. You’ll need sharp scissors or a utility knife to make clean cuts and openings. The trap needs string or wire to hang properly. A marker helps you draw the entry holes with precision.
Keep duct tape or a stapler close by to join the parts. Some trap designs work better with rubber bands that hold covers steady. Glass jam jars make great alternatives if you don’t want to use plastic.
Optional items that boost results
Many more items can make your trap work better. A funnel makes adding bait much easier. Silicone tube nozzles create better entry points – just cut them about 3cm from the threaded end. Adding dish soap to your bait mixture gives you better results.
Hot glue guns help make pipe attachments more secure and stop wasps from escaping. Small holes about 1/8 inch around the openings help spread attractant scents better.
Safety equipment checklist
Safety comes first when making wasp traps. Start with protective clothes:
- Full-body suits that shield you from stings
- Thick gloves that let you move freely
- Sturdy boots to protect your feet
Your face needs extra protection:
- Safety glasses to guard your eyes from flying insects
- Full-face shields that give complete coverage
Get ready before touching any materials:
- Use unscented soaps and deodorants
- Stay away from banana-scented products – they make wasps aggressive
- Wear light-coloured clothes instead of red or black
Store your safety gear in cool, dry spots away from sunlight to make it last longer. Check your gear often for damage to treat wasp stings.
Step-by-Step Trap Assembly
You need precision and attention to detail to build a wasp trap that works. These steps will give you great results in catching these stubborn insects.
Preparing the container
A clean 2-litre plastic bottle or a glass jam jar works best for this project. The container needs all labels removed, and you should mark a cutting line where the bottle starts to taper. Glass jars work well when you leave about one tablespoon of old jam at the bottom.
Creating the entrance
Take sharp scissors or a utility knife and cut along your marked line to separate the top part. The next step is to remove the bottle cap and turn the top section upside down. Place it inside the bottom part so it creates a funnel-like opening. You can secure the edges with duct tape to make it more stable.
Setting up the drowning mechanism
The container needs liquid poured about 2 inches deep. Adding a few drops of dish soap to the mixture will make it work better. Surface tension drops substantially with soap, and wasps can’t get any grip once they fall in.
Your trap will work better when you:
- Point the entrance holes downward for pipe-style designs
- Put petroleum jelly or dish soap on the funnel’s inside surfaces
- Use a damp cloth to clean any spills that might draw wasps to the outside
The trap works on a simple idea. Wasps smell the bait and enter through the funnel. They can’t find their way back through the small opening. Slippery surfaces and drowning solution make escape impossible.
The best spot for your trap is about 1.5-2 metres above the ground. Let it hang freely without any branches or leaves blocking the entry points. Wasps commonly fly at this height, making it really effective.
Best Bait for Wasp Traps
The success of wasp trapping depends on choosing the right bait since wasps have different food priorities during each season. A good understanding of these patterns will help you create better traps.
Spring protein baits
Wasps actively look for protein-rich food to feed their growing larvae in early spring. Raw fish makes an excellent protein bait when it’s preserved in spring water instead of oil or brine. You can also use fresh fish offcuts, chicken, or rabbit meat as effective protein baits.
To get the best results with protein baits:
- Choose non-oily white raw fish like pink ling
- Put fresh bait every 48 hours
- Set up traps along wasp flight routes
- Make sure traps don’t touch any branches
Summer sweet bait options
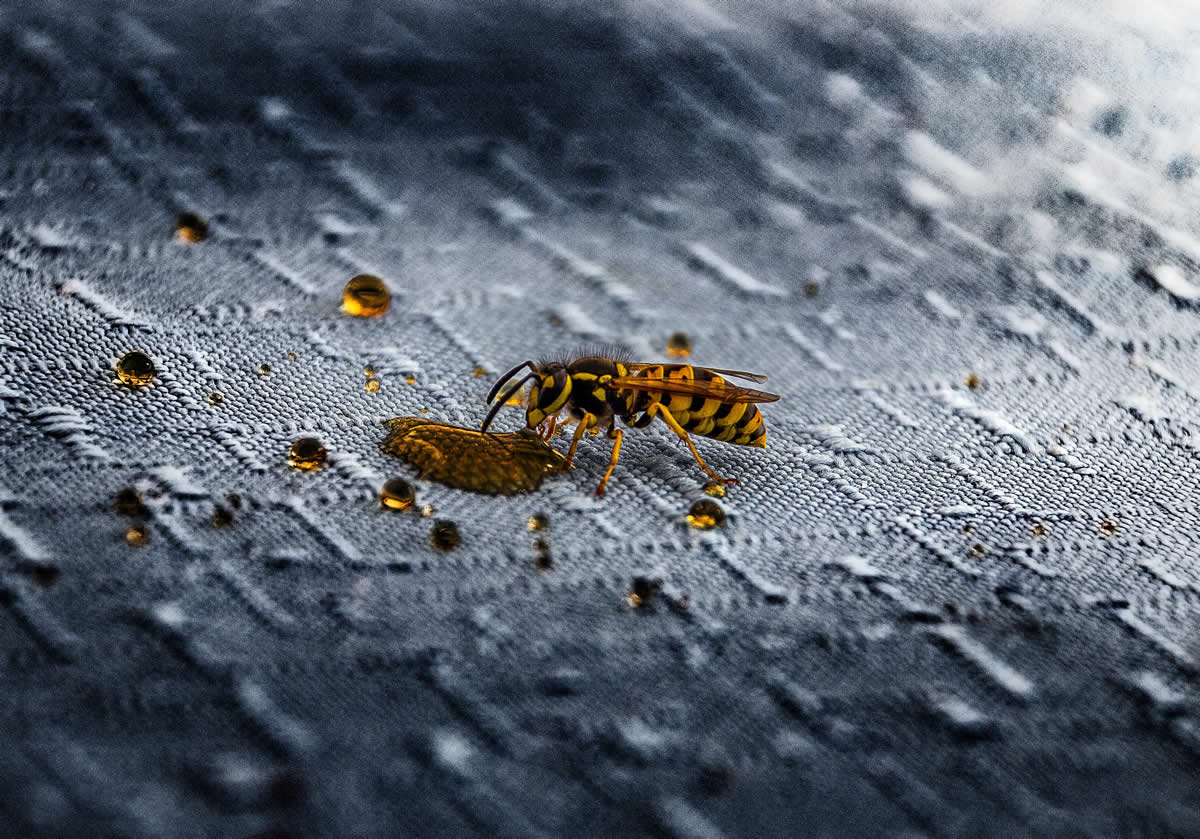
Wasps change their food priorities to sweet substances as summer arrives. They find it hard to resist a mixture of sugar water, fruit juice, or apple cider vinegar. Here’s the most effective sweet bait recipe:
- Water mixed with jam
- A splash of vinegar
- A small amount of liquid dish soap
The dish soap makes wasps sink when they land on the water’s surface. You should use one teaspoon of liquid dish soap for each cup of water.
What not to use as bait
Some baits work well for other insects but not for wasps. Honey tops this list because it draws bees instead of wasps. You should also stay away from:
- Oil-preserved fish
- Brine-soaked proteins
- Perfumed or scented substances
Your bait needs regular care to keep working well. Sweet solutions need replacement every 3-4 weeks. Dead wasps start to decay over time and can change how the bait smells. This might attract flies instead of wasps.
Note that you should match your bait type to the season. Protein baits give the best results from early spring through early summer. Sweet baits work better from late summer into autumn. This approach helps your trap catch more wasps throughout the season.
Our Final Say
Wasp traps help create safe and enjoyable outdoor spaces during warm months. You can build these traps at home to save money and take an eco-friendly approach to pest control.
The right timing makes a big difference. Using protein baits in spring helps catch queen wasps and stops thousands of worker wasps from appearing later. Sweet baits work better in summer as wasps change their feeding priorities.
Your safety matters most when building and maintaining these traps. You can get the best results by changing baits regularly, placing traps correctly, and handling them with care. Simple household materials and these tips will help you create wasp traps that protect your outdoor areas throughout the season.
Are you looking for pest control in Kent? Get in touch with us and a local pest removal company will be in touch.

