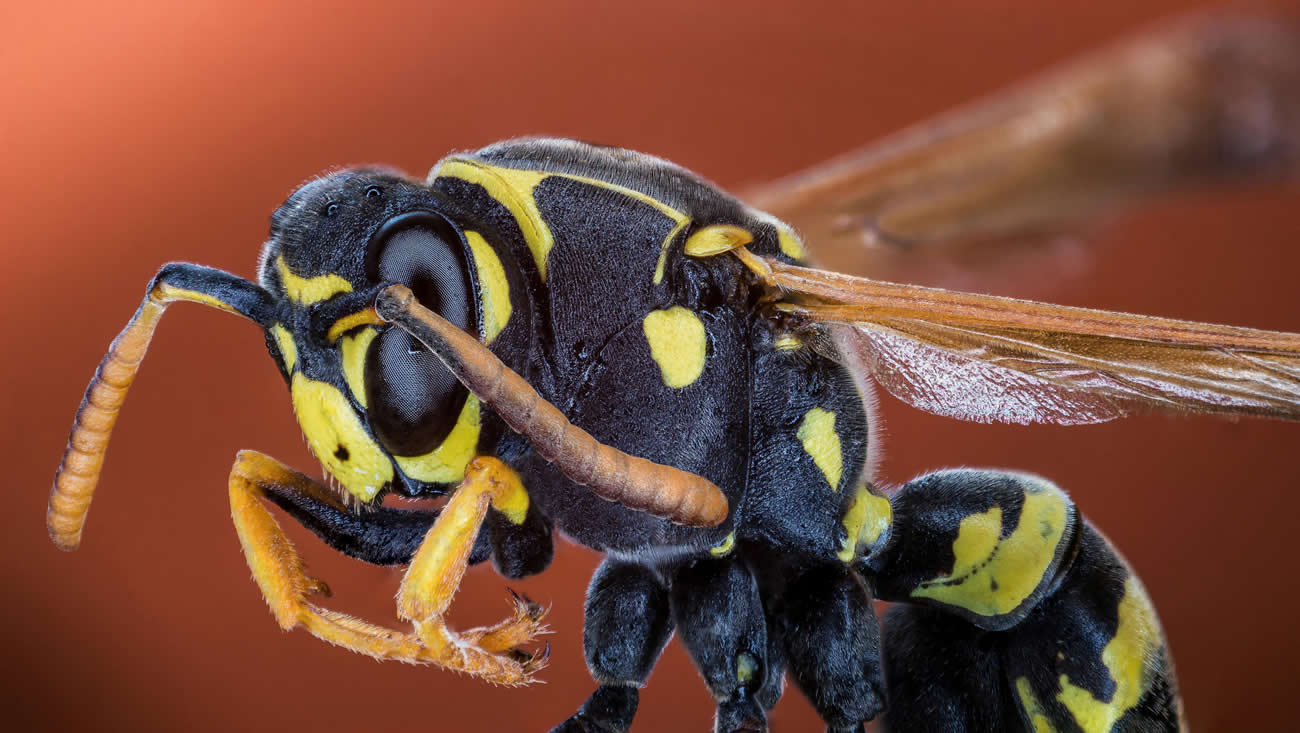
Unlike bees that die after one sting, wasps can sting multiple times, making a wasp nest in brick wall a serious concern for any homeowner.
These persistent pests, particularly species like German Wasps and Common Wasps, don’t just pose a threat to your safety—they can actually cause structural damage to your home. When wasps nest in walls, they may chew through plasterboard and wood, creating costly repairs that can range from £15 to £100 or more.
The problem becomes particularly pressing during summer months, from June through August, when wasp activity peaks. However, there’s good news: with the right approach and safety measures, we can effectively address this issue.
In this guide, we’ll walk you through the proven steps to identify, treat, and remove a wasp nest from your brick wall safely and effectively.
Table of Contents
ToggleSigns of Wasps in Your Brick Wall
Spotting wasp activity in brick walls requires careful observation of specific indicators. A thorough inspection of your property’s brickwork can reveal telltale signs of these unwanted guests.
Visible wasp traffic patterns
The most obvious sign of a wasp nest in your brick wall is the steady stream of wasps entering and leaving through small openings. Much like a busy airport, you’ll notice wasps taking off and landing at specific points. These insects establish clear flight paths, with workers moving in and out of the nest entrance at a rate of approximately one wasp per second.
The peak of this activity occurs before noon and during mid-afternoon. Moreover, worker wasps rarely linger at the entrance, instead moving with purpose as they deliver their catches and quickly depart for more hunting. By midsummer, as the colony grows to include hundreds or thousands of workers, this traffic becomes increasingly noticeable.
Unusual buzzing sounds
If you detect persistent buzzing sounds near your walls, specifically in concentrated areas, this often signals the presence of a wasp colony. These sounds typically become more pronounced during periods of increased activity, with variations in volume throughout the day.
To confirm the source, spend about ten minutes observing each side of your house, focusing on:
- Roof areas
- Gutter sections
- Lead flashing around chimneys
- Vent pipes
- Any visible entry points
Signs of brick damage
Physical evidence of wasp activity often appears in the form of damage to your brickwork. Wasps are skilled at finding and expanding small openings, frequently targeting:
- Gaps between cement and bricks
- Existing cracks or crevices
- Deteriorating mortar joints
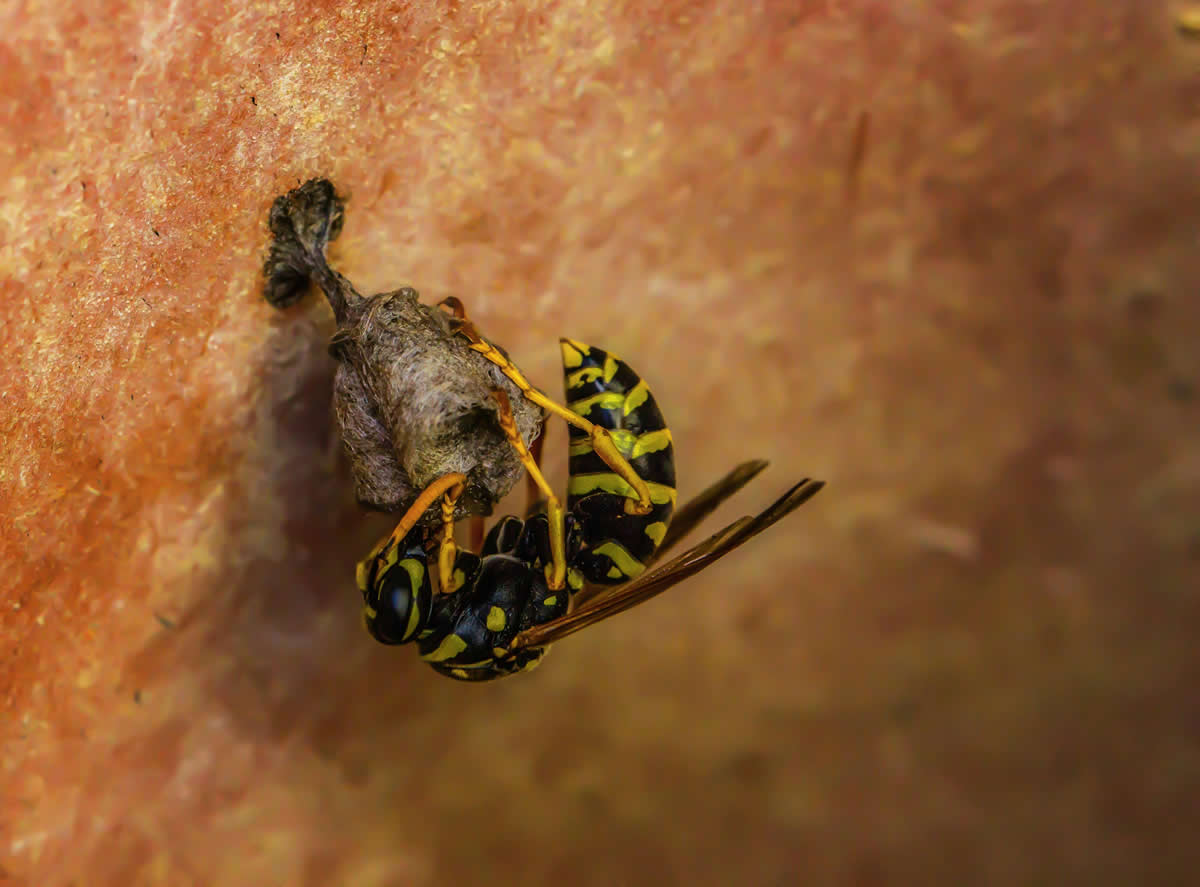
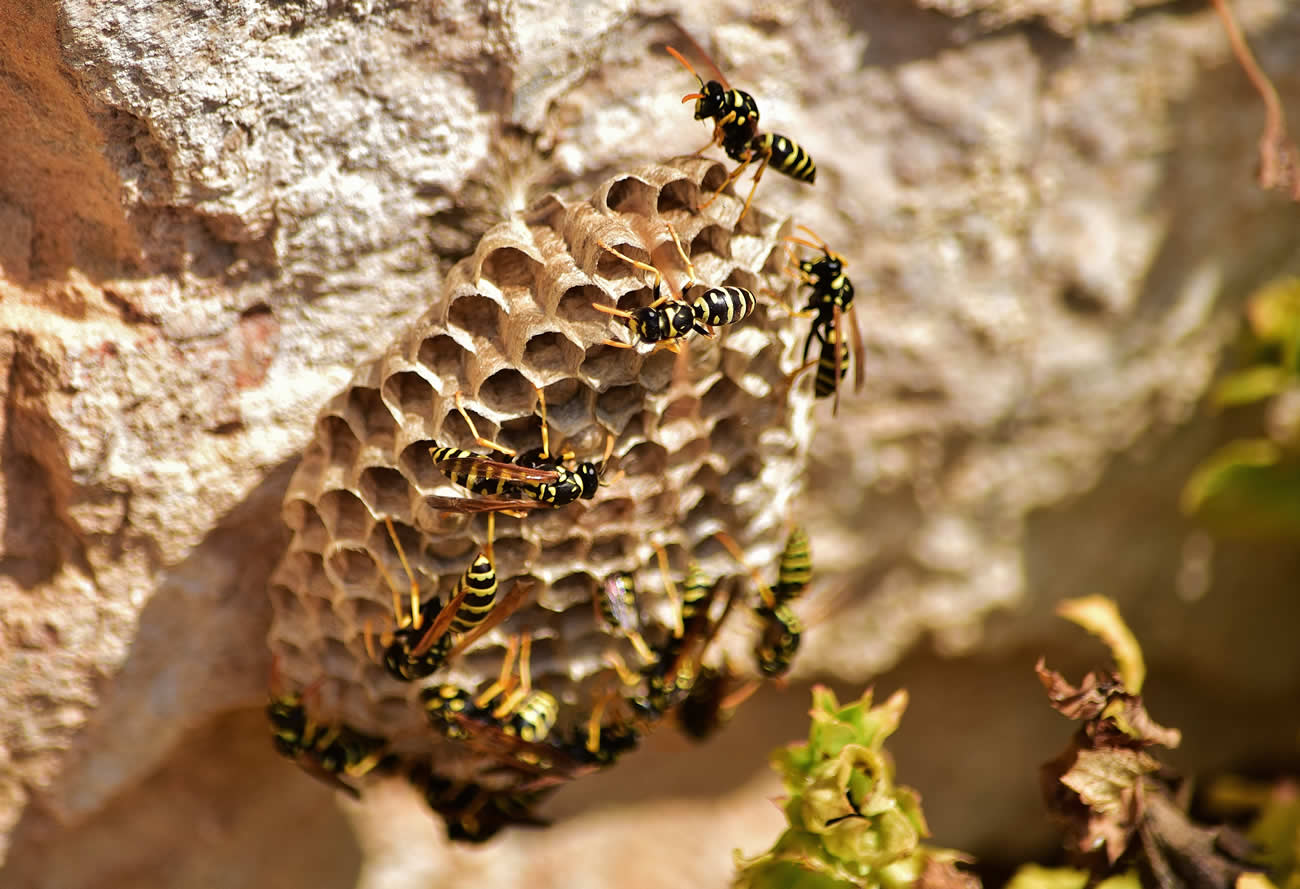
These industrious insects create their nests by chewing wood and mixing it with their saliva to produce a unique building material. Furthermore, you might notice small piles of excavated mortar collecting at the base of your wall, which indicates active nest construction.
If multiple areas of your property show wasp activity, this could indicate the presence of several nests. For proper identification, focus your inspection on sheltered spots that see minimal human traffic, including:
- Areas below eaves
- Wall cavities
- Spaces near window frames
- Sections around downspouts
Safety Steps Before Treatment
Proper safety measures form the foundation of successful wasp nest removal from brick walls. Following a systematic approach ensures both effectiveness and personal protection.
Required protective gear
A comprehensive protective outfit stands as your first line of defence against wasp stings. A beekeeper’s suit or full-body coveralls offer maximum coverage. Additionally, thick leather gloves protect your hands while maintaining the flexibility needed for treatment. For complete protection, wear:
- Steel-toed boots to shield your feet
- A face mask with protective eyewear
- A wide-brimmed hat with a veil covering your neck
- Thick, durable clothing underneath
Best time for treatment
Timing plays a crucial role in safe wasp nest removal. The most effective period for treatment is during evening hours or early morning. At these times, wasps remain less active and typically stay within their nest. This approach significantly reduces the risk of encountering foraging wasps that might return to defend their territory.
Risk assessment checklist
Prior to beginning any treatment, conduct a thorough risk evaluation:
- Species identification: Different wasp species show varying levels of aggression
- Environmental assessment: Check weather conditions and identify sensitive areas nearby
- Access evaluation: Ensure all equipment suits the task and remains in good condition
- Emergency planning: Prepare a clear escape route and keep first aid supplies ready
- Allergy awareness: Consider potential allergic reactions and have appropriate medical support available
Remember that wasps become extremely agitated when threatened and can sting multiple times. Therefore, always maintain a safe distance after applying treatment. For additional safety, inform neighbours about planned treatment activities, especially if the nest sits near shared boundaries.
In confined spaces such as wall cavities, exercise extra caution as quick escape routes might be limited. Should you feel uncertain about any aspect of the treatment process, seeking professional pest control services offers a safer alternative.
Treatment Methods for Brick Wall Nests
Two primary methods stand out for eliminating wasp nests from brick walls: powder treatments and foam applications. Each approach offers distinct advantages based on the nest’s location and accessibility.
Using wasp powder
Powder treatments prove most effective for nests hidden within wall cavities or behind air bricks. This method works through a simple yet powerful mechanism—wasps carry the powder into their nest on their wings. For optimal results:
- Apply the powder directly into the nest entrance points
- Target all visible holes in air bricks
- Make three daily applications for complete effectiveness
- Use a long-handled applicator or duster bellows for safe distribution
The powder method typically destroys the nest within 12 hours. This approach works exceptionally well for treating nests in small gaps above brick walls or between timber joists, as the wasps themselves distribute the lethal substance throughout their colony.
Foam treatments
Foam treatments offer an alternative solution, albeit with specific considerations. Modern foam sprays can reach distances of up to 4 metres, making them ideal for treating visible nests while maintaining a safe distance. Key features include:
- Sufficient coverage for 4 to 7 wasp nests per 600ml canister
- Contains active ingredients like Tetramethrin and Permethrin
- Best applied during early morning or late evening
- Requires direct contact with the nest for maximum effectiveness
Nevertheless, foam treatments come with certain limitations. The liquid-based solution dries quickly and becomes less effective over time. Furthermore, multiple applications might be necessary if only partial nest coverage is achieved initially.
For brick wall applications, the choice between powder and foam largely depends on nest visibility. Powder treatments work best for concealed nests where wasps must travel through entry points, whereas foam proves more suitable for exposed nests that can be directly targeted. Both methods require careful application and proper safety precautions, as outlined in previous sections.
Professional assistance might be worth considering, with service costs ranging from £15.88 to £103.24, particularly for challenging cases or when uncertain about the nest’s exact location.
After Treatment Care
After successful treatment of a wasp nest in your brick wall, careful post-treatment steps ensure long-term effectiveness and prevent future infestations.
Monitoring the nest
Once treated, foraging wasps might continue returning to the nest area for several days. This activity typically peaks during daylight hours as wasps attempt to access their former home. For optimal results:
- Leave the treated nest undisturbed, allowing returning wasps to contact residual chemicals
- Watch for signs of continued activity for at least 24 hours
- Consider a second treatment if wasp activity persists beyond this period
Sealing entry points
After confirming the nest’s inactivity, focus shifts to preventing future infestations. A thorough inspection of your property’s exterior reveals potential access points that require attention. Essential sealing measures include:
- Filling gaps around window and door frames with appropriate sealants
- Addressing cracks in brickwork and mortar joints
- Installing mesh screens over vents and other necessary openings
Remember that wasps can establish colonies in remarkably small spaces, making comprehensive sealing crucial.
Wall repairs needed
Structural repairs might become necessary, particularly where wasps have damaged mortar or created extensive tunnels. Professional assessment often reveals:
- Mortar deterioration requiring repointing
- The need for hard cement application in affected areas
- Potential internal wall damage requiring inspection
For lasting protection, rake out affected mortar to approximately half an inch depth and repoint with durable cement mixture. This approach prevents future wasp colonisation whilst maintaining your wall’s integrity.
Certainly, prevention remains vital for long-term success. Regular property inspections help identify potential nesting sites early. Keep outdoor areas tidy by securing waste bins and removing fallen fruit. Furthermore, consider installing decoy nests, as wasps naturally avoid establishing colonies near existing nests.
Conclusion
Dealing with wasp nests in brick walls demands careful attention to safety and proper execution. Though these persistent pests pose significant risks, appropriate treatment methods paired with protective measures ensure successful removal.
Most importantly, remember that timing and preparation make the difference between safe removal and dangerous encounters. Whether choosing powder treatments for hidden nests or foam applications for visible colonies, proper protective gear remains essential throughout the process.
After treatment, thorough monitoring and preventive measures safeguard your property against future infestations. Addressing structural vulnerabilities through careful repairs and sealing entry points creates lasting protection for your home. Armed with this knowledge, you can confidently tackle wasp nest problems while ensuring both personal safety and property protection.